Introduction
iMovie is an intuitive video editing software developed by Apple Inc. Its easy-to-use interface has made it popular with filmmakers, video editors, and other creative professionals. However, iMovie can also be used to create professional-looking theater videos. This article will explore the possibilities of iMovie for theater production, providing a beginner’s guide to using iMovie, tips and tricks for making the most out of iMovie, and an overview of iMovie features relevant to theater production.
A Beginner’s Guide to Using iMovie for Theater Projects
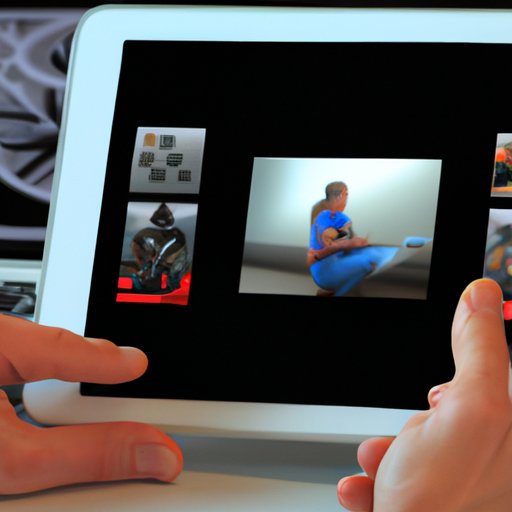
iMovie is a powerful tool for creating stunning theater videos. To get started, first import your video clips into iMovie. You can do this by dragging and dropping the files from your computer’s Finder window, or by clicking the “Import” button in the top right corner of the iMovie window. Once you’ve imported your clips, you can begin editing them. iMovie includes several editing tools, such as trimming, splitting, and adding transitions between clips.
Another helpful feature of iMovie is its ability to add effects and music to your projects. You can find a wide selection of music and sound effects in the iMovie library, or you can add your own. Additionally, you can use iMovie to add text, graphics, and titles to your video. This can help to enhance the look of your project and make it more visually appealing.
Finally, once you’ve finished editing your project, you can export it as a file that can be shared with others. iMovie offers several options for exporting your project, including HD video, 4K video, and even 3D video. No matter what format you choose, iMovie will ensure that your project looks professional.
How to Create Professional-Looking Theater Videos with iMovie
Creating professional-looking theater videos with iMovie is easier than you might think. Here are some tips for getting the most out of iMovie:
Working with Video Clips: When working with video clips, it’s important to pay attention to the details. Make sure that each clip is properly trimmed and that all transitions are smooth. Additionally, you can adjust the speed of clips to create a desired effect, or you can use the “Ken Burns” effect to pan across still images.
Adding Transitions, Effects, and Music: Adding transitions, effects, and music to your projects can help to make them more dynamic and engaging. iMovie includes a variety of transitions, effects, and music tracks that you can use to give your project a professional look. Additionally, you can add your own transitions, effects, and music tracks to further customize your project.
Exporting Finished Projects: Once you’ve completed your project, you can export it as a file that can be shared with others. iMovie offers several options for exporting your project, including HD video, 4K video, and even 3D video. Additionally, you can upload your project directly to YouTube or Vimeo, or you can share it via social media.

Tips and Tricks for Making the Most Out of iMovie for Theater Productions
iMovie is a powerful tool for creating theater videos, but there are a few tips and tricks that can help you get the most out of it. Here are some tips for making the most out of iMovie for theater productions:
Setting up a Timeline: Creating a timeline is essential for any successful theater production. iMovie makes it easy to set up a timeline for your project. Simply drag and drop your clips onto the timeline, and then arrange them in the order that you want. You can also add transitions, effects, and music to the timeline.
Working with Multiple Tracks: Working with multiple tracks is a great way to add depth and complexity to your project. iMovie allows you to work with up to four video tracks and four audio tracks. This feature can be especially useful for theater productions, as it allows you to layer different elements together.
Utilizing Stabilization Techniques: Stabilization techniques can help to make your theater videos look more professional. iMovie includes several stabilization tools that you can use to reduce camera shake and jitter. Additionally, you can use the “SmoothCam” tool to make your videos look even smoother.
Exploring the Possibilities of iMovie for Theater Productions
iMovie offers a variety of features that can be used to create professional-looking theater videos. Here are some tips for exploring the possibilities of iMovie for theater productions:
Creating a Storyboard: Before you begin editing your project, it’s important to create a storyboard. A storyboard will help you visualize the structure of your project and ensure that all elements work together. iMovie includes a built-in storyboard feature that makes it easy to create a storyboard for your project.
Incorporating Graphics and Titles: Graphics and titles can help to enhance the look of your project and make it more visually appealing. iMovie includes a variety of graphics and titles that you can use to give your project a professional look. Additionally, you can add your own graphics and titles to further customize your project.
Adding Voiceovers and Sound Effects: Voiceovers and sound effects can help to bring your project to life. iMovie includes a variety of voiceover and sound effect options that you can use to give your project a professional sound. Additionally, you can add your own voiceovers and sound effects to further customize your project.
An Overview of iMovie Features Relevant to Theater Production
iMovie offers a variety of features that are relevant to theater production. Here is an overview of some of the features that are available in iMovie:
Sharing and Exporting Options: iMovie offers several options for sharing and exporting your project. You can export your project as a file that can be shared with others, or you can upload it directly to YouTube or Vimeo. Additionally, you can share your project via social media.
Adjusting Audio and Video Settings: iMovie includes several tools for adjusting audio and video settings. You can use these tools to adjust the volume, brightness, contrast, saturation, and other settings. Additionally, you can use the audio equalizer to fine-tune the sound of your project.
Working with Color Correction Tools: Color correction tools can help to make your project look more professional. iMovie includes several color correction tools that you can use to adjust the hue, saturation, and luminance of your project. Additionally, you can use the “Hue/Saturation” tool to give your project a unique look.
Conclusion
iMovie is a powerful and intuitive video editing software that can be used to create stunning theater videos. This article has explored the possibilities of iMovie for theater production, providing a beginner’s guide to using iMovie, tips and tricks for making the most out of iMovie, and an overview of iMovie features relevant to theater production. Whether you’re a seasoned pro or a first-time user, iMovie can help you create professional-looking theater videos.
To get the most out of iMovie for theater production, it’s important to set up a timeline, work with multiple tracks, and utilize stabilization techniques. Additionally, you should take advantage of iMovie’s sharing and exporting options, and make use of its color correction tools. By following these tips, you can create stunning theater videos with iMovie.
(Note: Is this article not meeting your expectations? Do you have knowledge or insights to share? Unlock new opportunities and expand your reach by joining our authors team. Click Registration to join us and share your expertise with our readers.)