Introduction
GIMP (GNU Image Manipulation Program) is a free open-source image editing program that can be used for a variety of tasks, from simple retouching and resizing to more advanced manipulation and creation. It has an intuitive user interface and powerful tools that make it an ideal choice for both beginners and professionals alike.
Why Use GIMP?
GIMP is a great choice for anyone looking to edit or manipulate images because it is free and open source, which means it can be downloaded and used without any cost. It is also highly customizable, so users can tailor it to suit their needs. Furthermore, GIMP has a wide range of powerful tools and features, such as layers, filters, brushes, and automated tasks, which enable users to create professional-quality images. According to a study conducted by OpenSource.com, “GIMP is widely considered to be one of the best free alternatives to Adobe Photoshop.”
Download and Install GIMP
The first step in getting started with GIMP is to download and install it on your computer. Before you begin, make sure you have the necessary system requirements: Microsoft Windows 7 or later, Mac OS X 10.9 or later, or Linux.
How to Download GIMP
GIMP can be downloaded from its official website at www.gimp.org. Click the “Download GIMP” button and select the version that is compatible with your operating system. Once the download is complete, double-click the installer file to start the installation process.
How to Install GIMP
Follow the on-screen instructions to complete the installation. Make sure you select all the components you want to install and click the “Install” button when prompted. Once the installation is complete, you will be able to launch GIMP from the desktop shortcut or from the Start menu.
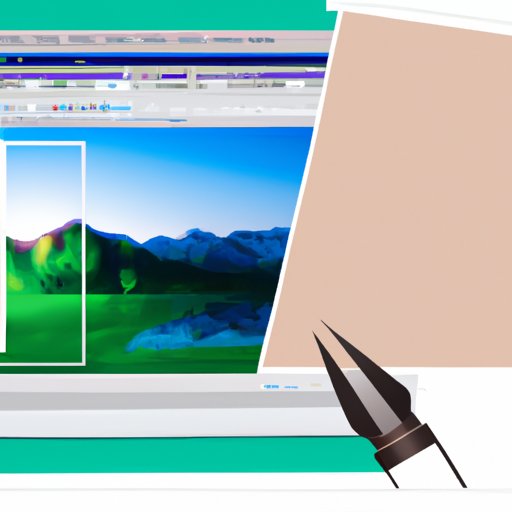
Familiarize Yourself With GIMP’s Interface
Once you have installed GIMP, take some time to familiarize yourself with the user interface. The main window is divided into several areas, including the toolbox, layers, and other features. Each area has its own set of tools and functions that can be used to create and edit images.
The Toolbox
The toolbox is located on the left side of the main window and contains all the tools needed to create and edit images. These include selection tools, drawing tools, painting tools, color tools, transformation tools, and more. Selecting a tool will bring up a dialog box with additional options and settings.
Layers
Layers are used to separate different elements of an image. They allow you to work on individual parts of the image without affecting the rest. The Layers panel is located on the right side of the main window and displays all the layers in the current project. You can add new layers, delete existing layers, and adjust layer settings.
Other Features
In addition to the toolbox and layers, GIMP also offers several other features that can be used to enhance your images. These include filters and effects, scripting, automation, and more. These features can be accessed through the menus at the top of the main window.
Create a New Project in GIMP
Now that you are familiar with GIMP’s interface, you can start creating your own projects. To do this, you will need to open a new project or an existing project.
How to Create a New Project
To create a new project, select “File” > “New” from the menu bar. This will open a dialog box where you can specify the size, resolution, and color mode of the project. Once you have filled in the details, click “OK” to create the project.
Opening an Existing Project
If you already have an image or project that you want to work on, you can open it by selecting “File” > “Open” from the menu bar. This will open a dialog box where you can choose the file you want to open.
Use the Tools to Edit Images
Once you have created a new project or opened an existing one, you can start using the tools in the toolbox to edit your images. GIMP has a wide range of tools that can be used to adjust colors, crop images, retouch photos, and more.
Overview of Editing Tools
The most commonly used tools in GIMP are the selection tools, which allow you to select specific areas of an image; the paint tools, which allow you to draw, paint, and fill areas of an image; the transform tools, which allow you to move, scale, rotate, and distort parts of an image; and the color tools, which allow you to adjust the hue, saturation, and brightness of an image.
Examples of Image Editing
Using the tools in GIMP, you can easily make adjustments to an image. For example, you can use the selection tools to select a specific area of an image and then use the paint tools to add color or texture to that area. You can also use the transform tools to resize or rotate an image, and the color tools to adjust the colors of an image.
Save Your Work in GIMP
When you are done editing your image, you need to save it in order to keep your changes. GIMP supports a variety of file formats, so you can choose the one that best suits your needs.
Different File Formats
GIMP supports a variety of file formats, including JPEG, PNG, TIFF, and GIF. Each format has its own advantages and disadvantages, so choose the one that best suits your needs. For example, JPEG is a lossy format, which means it compresses the image and reduces its quality, but it is also the smallest file size. On the other hand, TIFF is a lossless format, which means it preserves the original quality of the image, but it is also the largest file size.
Saving Projects
To save your work in GIMP, select “File” > “Save As” from the menu bar. This will open a dialog box where you can choose the file format and location to save the file. Once you have chosen the file format and location, click “Save” to save the file.
Share Your Work with Others
Once you have saved your project, you can share it with others by exporting it as an image file or posting it on social media.
Exporting Images
To export an image, select “File” > “Export As” from the menu bar. This will open a dialog box where you can choose the file format and location to save the file. Once you have chosen the file format and location, click “Export” to save the file.
Posting on Social Media
You can also share your work on social media by uploading the image file directly to the platform. Most social media platforms support popular image formats such as JPEG and PNG, so you can simply upload the image file without any further conversion.

Explore Advanced Features in GIMP
GIMP also offers a number of advanced features that can be used to create more complex images and effects. These include filters and effects, scripting, automation, and more.
Filters and Effects
GIMP has a wide range of filters and effects that can be used to create special effects and enhance images. These include blur, sharpen, hue/saturation, and more. To access these filters, select “Filters” from the menu bar.
Scripting
GIMP also offers a scripting language called Script-Fu that allows users to create scripts to automate repetitive tasks. Scripts can be written in Python, Scheme, or Perl and can be used to automate tasks such as batch processing and image manipulation.
Automation
GIMP also offers a feature called Automation that allows users to create actions that can be applied to multiple images at once. Actions can be used to apply effects, adjust colors, and more. To access this feature, select “Tools” > “Automation” from the menu bar.
Conclusion
GIMP is a powerful and versatile image editing program that can be used to create and edit images. With its intuitive user interface and powerful tools, it is an ideal choice for both beginners and professionals alike. This article provided a comprehensive guide to getting started with GIMP, covering the basics of downloading and installing GIMP, how to use the interface, how to create projects and edit images, how to save your work, and how to share it with others.
(Note: Is this article not meeting your expectations? Do you have knowledge or insights to share? Unlock new opportunities and expand your reach by joining our authors team. Click Registration to join us and share your expertise with our readers.)