Introduction
The idea of constructing a robot out of cardboard may seem daunting, but it’s actually quite simple — and fun! A cardboard robot is a great way to explore the world of robotics without spending a lot of money. With some basic materials, creativity, and patience, you can easily create your own unique robotic creation.
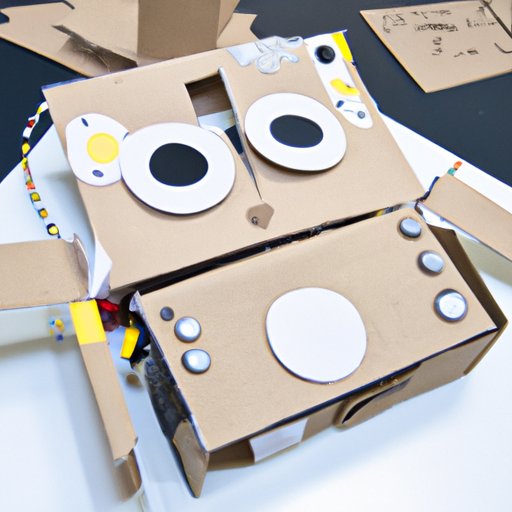
So, what exactly is a cardboard robot? A cardboard robot is a handmade robot made out of cardboard, paper, tape, glue, markers, and other household items. It can be as simple or complex as you like; from a basic box-like design to an intricate robotic arm, the possibilities are endless. And best of all, you don’t need any special tools or skills to get started.
Building a cardboard robot has many benefits. It helps develop creativity, problem solving, and engineering skills. It also encourages recycling by using everyday materials that would otherwise end up in the trash. Finally, it’s a great way to get kids interested in robotics and science.
Step-by-Step Guide to Building a Cardboard Robot
Now that you know the basics of making a cardboard robot, let’s dive into the step-by-step process. Here’s what you’ll need to get started:
- Cardboard (corrugated or solid)
- Scissors
- Glue
- Tape
- Markers
- Straws
- String or wire
Once you’ve gathered the necessary materials, it’s time to start building. The first step is to come up with a design for your robot. You can use a pre-made template or come up with your own. If you’re feeling creative, you can even combine different designs to create a unique robotic creation.
When you’ve settled on a design, it’s time to cut out the pieces. Be sure to use sharp scissors and keep your fingers away from the blades. Once you’ve cut out all the pieces, it’s time to assemble them. Use glue and tape to attach the pieces together. For added strength, you can use straws for additional support.
Finally, it’s time to decorate and customize your robot. You can use markers to draw on details, or you can use string or wire to add accessories. You can also use buttons, beads, or other small objects to give your robot a unique look.
Adding Electronic Components
If you want to take your cardboard robot to the next level, you can add electronic components such as motors, lights, and sensors. This will allow your robot to move, light up, and interact with its environment. Adding electronics to a cardboard robot is not as complicated as it sounds; there are plenty of online tutorials that can walk you through the process.
According to a study conducted by the University of California at Berkeley, “adding electronic components to cardboard robots helps students gain a deeper understanding of robotics and coding.” In other words, by combining traditional construction materials with electronics, students are able to learn more about robotics and programming in a hands-on way.
Decorating and Customizing
The final step in creating your cardboard robot is to decorate and customize it. You can use paint, markers, stickers, sequins, or any other decorative material to give your robot a unique look. You can also add accessories such as arms, legs, or wings. By customizing your robot, you can make it truly one-of-a-kind.
Another great way to customize your robot is to give it a name. Names can help bring your robot to life and make it more memorable. According to a study by the University of Michigan, “giving robots names helps foster a stronger bond between humans and robots.” So, don’t be afraid to get creative and give your robot a unique name!
Conclusion
Making a robot from cardboard is a fun and rewarding experience. By following the steps outlined in this article, you can easily create your own unique robotic creation. From gathering materials to adding electronic components, you’ll be amazed at what you can create with just a few simple items. So, what are you waiting for? Get started on building your very own cardboard robot today!
Once you’ve finished building your cardboard robot, we’d love to see it! Share photos of your finished robot on social media using the hashtag #cardboardrobot.
(Note: Is this article not meeting your expectations? Do you have knowledge or insights to share? Unlock new opportunities and expand your reach by joining our authors team. Click Registration to join us and share your expertise with our readers.)