Introduction
A starter is an electric motor used to turn an engine over and initiate combustion in an internal combustion engine. It is an essential component of any vehicle that helps start the engine and get it running. However, starters can malfunction or fail due to several factors, such as wear and tear, corrosion, or damage from external sources. If your car’s starter is not working properly, it’s important to identify the problem and find a solution. This article will provide step-by-step instructions for how to fix a starter on a car.
Research the Type of Starter and its Components
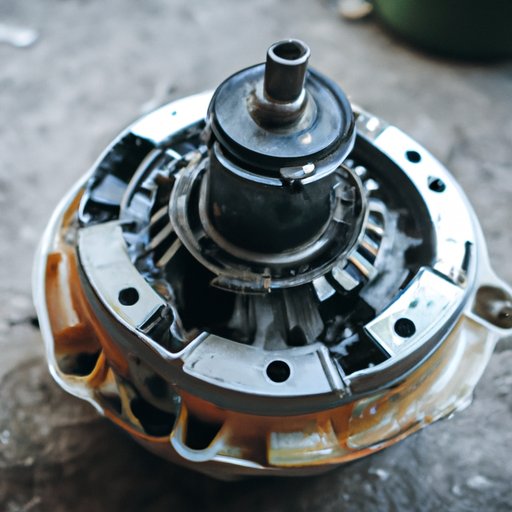
The first step in fixing a starter on a car is to research the type of starter you have. Most cars use either an electric starter or a cranking motor. Each type of starter has different components, so it’s important to familiarize yourself with the parts and their functions. Understanding the anatomy of the starter will help you identify potential problems and solutions.

Check for Any Visible Signs of Damage
Once you’ve familiarized yourself with the type of starter and its components, the next step is to check for any visible signs of damage. Examine all components for signs of wear or damage, such as frayed wires, corrosion, or loose connections. Also, check the battery terminals and wiring connections for any signs of corrosion or damage.

Test the Battery to Ensure it is Providing Enough Power to the Starter
The battery is an essential component of the starter system, as it provides power to the starter motor. To ensure that the battery is providing enough power to the starter, use a multimeter to test the voltage. Additionally, inspect the cables for any corrosion or signs of damage. If the battery is not providing enough power, it may need to be replaced.
Inspect Wiring Connections for Corrosion or Damage
Another important step in fixing a starter on a car is to inspect the wiring connections for any signs of corrosion or damage. Look for frayed or loose wires and inspect for any corrosion or damage. If necessary, clean and replace any wiring or components that are corroded or damaged.

Clean and Replace Worn Parts as Needed
In addition to inspecting the wiring connections, it’s also important to clean and replace any worn out parts. Clean any corroded parts with a wire brush and replace any worn out parts. This will help ensure that the starter is functioning properly and will prevent any further damage.
Check the Flywheel Teeth for Damage or Wear
The flywheel teeth are another important component of the starter system. These teeth engage with the starter motor to turn the engine over and initiate combustion. Therefore, it’s important to inspect the flywheel teeth for any signs of damage or excessive wear. If the flywheel teeth are worn or damaged, they may need to be replaced.

Have a Professional Inspect the Starter if Necessary
If you are still having difficulty determining the cause of the problem, it’s best to consult a professional. A qualified mechanic will be able to inspect the starter and discuss repair options. They may also be able to provide advice on preventive maintenance to help keep the starter in good condition.
Conclusion
Fixing a starter on a car can be a challenging task, but it doesn’t have to be. By following the steps outlined in this article, you can troubleshoot the problem and find a solution. Research the type of starter and its components, check for any visible signs of damage, test the battery, inspect wiring connections, clean and replace worn parts, and consult a professional mechanic if necessary. Taking these steps will help ensure that your starter is functioning properly and will keep your car running smoothly.
(Note: Is this article not meeting your expectations? Do you have knowledge or insights to share? Unlock new opportunities and expand your reach by joining our authors team. Click Registration to join us and share your expertise with our readers.)