Introduction
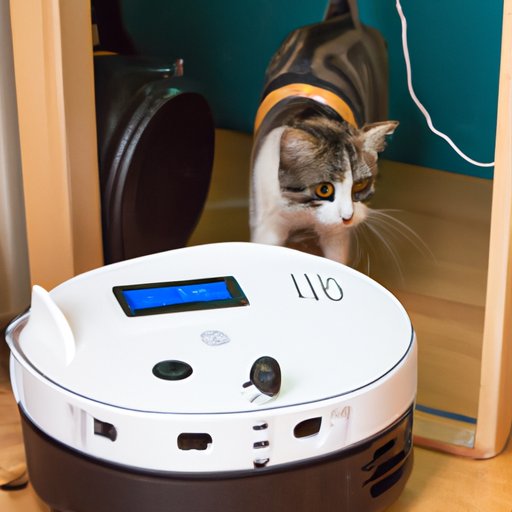
A litter robot is a self-cleaning litter box designed to make the process of cleaning a cat’s litter box easier and more efficient. It uses an automated system to sift through the waste and separate the clumps, which are then deposited into a sealed drawer to be disposed of later. By connecting the litter robot to your home’s WiFi network, you can take advantage of the device’s advanced features and automation.
The purpose of this article is to provide a step-by-step guide to setting up a litter robot with WiFi, as well as offer tips and tricks for getting the most out of your device. We’ll also cover how to troubleshoot any issues you may encounter while connecting or using the litter robot.
Step-by-Step Guide to Connecting a Litter Robot to WiFi
Before you can begin setting up your litter robot, you’ll need to gather some materials. You’ll need a router that supports 2.4 GHz frequency, an Ethernet cable, and a laptop or mobile device. Once you have these items, you’re ready to start setting up your litter robot.
Setting Up Your Router
The first step in connecting your litter robot to WiFi is to set up your router. Before you do this, make sure you have the latest firmware updates installed on your router. This will ensure that you have the most up-to-date security protocols and settings.
Next, configure your router’s settings so that it is broadcasting a 2.4GHz signal. This is the frequency that the litter robot uses to connect to your WiFi network. After you’ve done this, plug your router into a power source and turn it on.
Connecting the Litter Robot
Once your router is powered on, you’ll need to connect your litter robot to it. First, use the Ethernet cable to connect the litter robot to your router. Then, press the “connect” button on the litter robot. The device should now be connected to your router.
A Beginner’s Guide to Setting Up a Litter Robot with WiFi
If you’re new to the world of litter robots, there are a few things you need to know before you can successfully connect your device to your WiFi network. Here’s what you need to do:
What You Need
To set up your litter robot with WiFi, you’ll need a router that supports 2.4GHz frequency, an Ethernet cable, and a laptop or mobile device. Make sure you have all of these items before you begin the setup process.
Connecting the Router and Litter Robot
Once you have your materials gathered, you’ll need to connect the router and litter robot. Use the Ethernet cable to connect the two devices, and then press the “connect” button on the litter robot. This will enable the device to communicate with your router.
Adding the Litter Robot to Your Network
The final step in connecting your litter robot to your WiFi network is to add the device to your router’s list of connected devices. To do this, open your router’s settings page and look for an option that says “add device.” Select the litter robot from the list of available devices, and then enter the password for your router.

How to Make the Most of Your Litter Robot with WiFi
Once you’ve successfully connected your litter robot to your WiFi network, you can start taking advantage of the device’s advanced features and automation. Here are a few tips for getting the most out of your litter robot:
Understanding the Features
Your litter robot comes with a variety of features that can help you keep your pet’s litter box clean and odor-free. Take the time to familiarize yourself with these features, so that you can make the most of your device.
Taking Advantage of Automation
One of the best features of the litter robot is its ability to automate the cleaning process. With the touch of a button, the device can sift through the litter and deposit the waste into a sealed drawer, making it easy to keep your pet’s litter box clean and odor-free.
Troubleshooting Tips
If you experience any issues while connecting or using your litter robot, there are a few troubleshooting tips you can try. For example, you can reset the device by pressing and holding the “reset” button for 10 seconds. You can also try unplugging the device and plugging it back in, or check your router’s settings to make sure the device is still connected.
Setting Up a Litter Robot: All You Need to Know About Establishing a WiFi Connection
Establishing a secure WiFi connection for your litter robot is essential for taking advantage of the device’s features and automation. Here are a few tips for setting up your litter robot with WiFi:
Choosing the Right Router
It’s important to choose a router that is compatible with your litter robot. Look for a router that supports 2.4GHz frequency, as this is the frequency the device uses to connect to your WiFi network.
Configuring Your Network Settings
Once you’ve chosen the right router, you’ll need to configure your network settings. Make sure your router is broadcasting a 2.4GHz signal, and then add the litter robot to your list of connected devices.
Testing the Connection
After you’ve configured your network settings, it’s a good idea to test the connection. Try turning the litter robot on and off, and make sure it is connected to your WiFi network. If everything is working properly, you’re all set!

Setting Up Your Litter Robot: Tips and Tricks for Connecting to WiFi
If you’re having trouble connecting your litter robot to your WiFi network, there are a few tips and tricks you can try. Here are a few things to keep in mind when setting up your device:
Knowing the Basics
Before you start the setup process, make sure you understand the basics of connecting a device to your WiFi network. Make sure you have the right router and the necessary materials, and make sure your network settings are configured correctly.
Making Sure You Have Everything You Need
In order to establish a secure connection, you’ll need a router that supports 2.4GHz frequency, an Ethernet cable, and a laptop or mobile device. Make sure you have all of these items before you begin the setup process.
Double-Checking the Setup
Once you’ve completed the setup process, it’s a good idea to double-check everything. Make sure the litter robot is connected to your WiFi network, and make sure the device is functioning properly.

Mastering the Art of Connecting a Litter Robot to WiFi
Connecting a litter robot to your WiFi network can be a daunting task, but it doesn’t have to be. With the right tools and knowledge, you can easily establish a secure connection for your device. Here are a few tips for mastering the art of connecting a litter robot to WiFi:
Getting Started
The first step in connecting your litter robot to WiFi is to gather the necessary materials. Make sure you have a router that supports 2.4GHz frequency, an Ethernet cable, and a laptop or mobile device. Once you have these items, you’re ready to start setting up your device.
Ensuring a Secure Connection
When setting up your litter robot, it’s important to make sure you establish a secure connection. Make sure your router is broadcasting a 2.4GHz signal, and make sure you add the device to your list of connected devices.
Keeping the Connection Active
Once you’ve established a secure connection for your litter robot, it’s important to make sure the connection stays active. Make sure your router is plugged in and powered on, and test the connection regularly to make sure everything is working properly.
Conclusion
Connecting a litter robot to your WiFi network can seem like a daunting task, but it doesn’t have to be. With the right materials and knowledge, you can easily set up your device and take advantage of its advanced features and automation. This article has provided a comprehensive guide to setting up a litter robot with WiFi, as well as tips and tricks for getting the most out of your device.
(Note: Is this article not meeting your expectations? Do you have knowledge or insights to share? Unlock new opportunities and expand your reach by joining our authors team. Click Registration to join us and share your expertise with our readers.)